Dynevor Days
Home
Dynevor Days
Old Dy'vorians
Schools
Sea View Community Primary
St Helen’s Primary
St Thomas Community Primary
Terrace Road Primary
Townhill Community Primary
Contact Us
email
[email protected]
smartphone
School Login
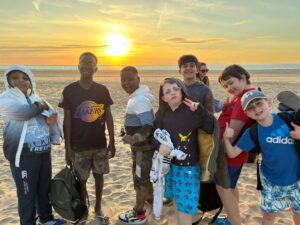
Photo Gallery (Part 1)
Home
»
Photo Gallery (Part 1)
You may also like